David Brindley's - Close-ups
Return to
Gallery
Previous
Image
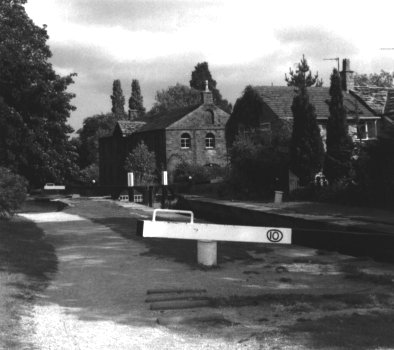
#5 - Lock 10 (2)
Next
Image